Step-by-step instructions for pass creation
To create a pass:
1. First step: Printer selection.
• Set default printer to pass printer to set the appropriate pass dimensions.
2. Second step: Create a new pass.
• SysManager > Activities > Create New Layouts.
• Provide a Layout name (e.g., Test) and click Save.
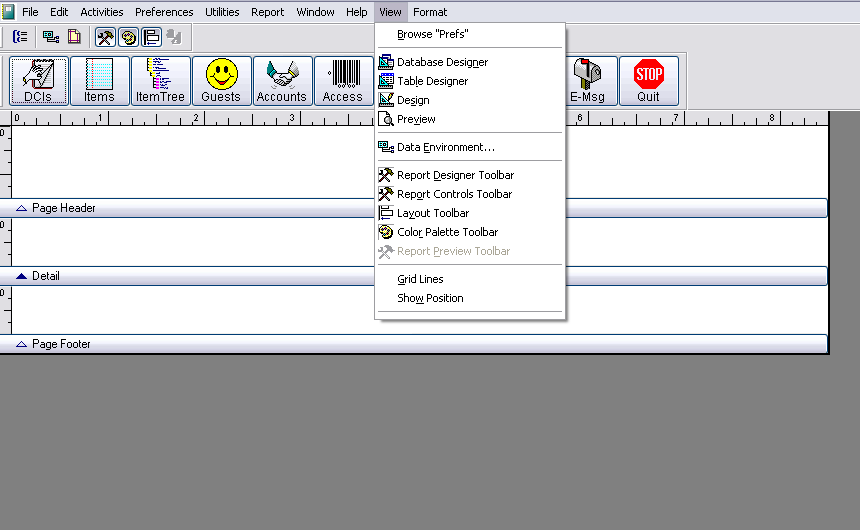
• If not already present, open View > Report Controls Toolbar, View > Color Palette Toolbar and View > Layout Toolbars.
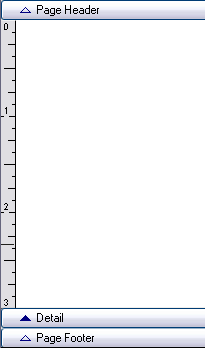
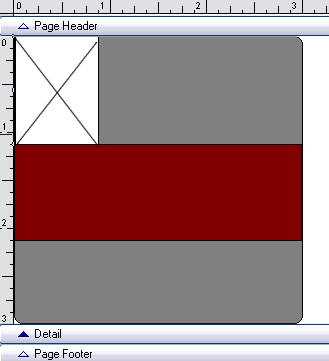
3. Third step: Set the report area.
1. Resize the Page Header and Page Footer to no height.
2. Resize the Detail band to be the proper height of your pass.
4. Fourth step: Add controls to the layout.
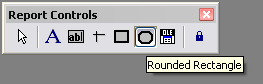
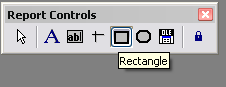
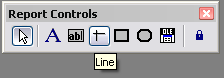
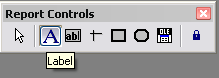
1. Select the Rounded Rectangle from the Report Controls toolbar:
Note: Tool tips appear when you place the mouse cursor over a control.
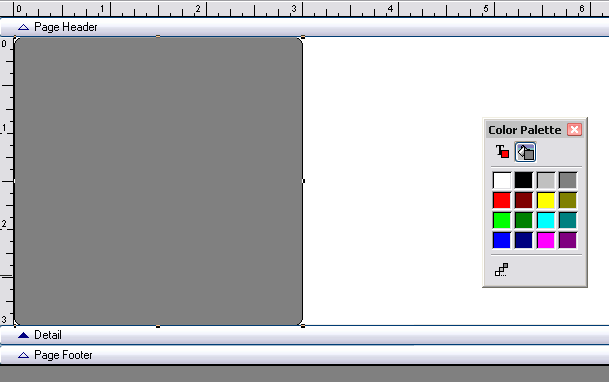
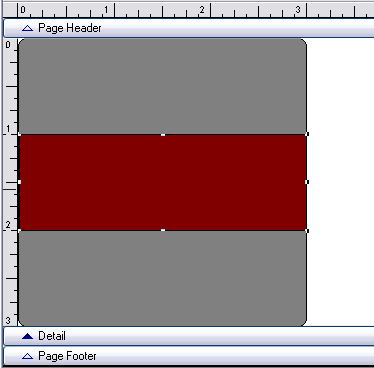
2. Add a Rounded Rectangle to the pass by clicking and holding the left mouse button where you want the box to start and dragging the mouse to where you want the box to end.
3. Select the background color from the Color Palette toolbar and select a background color for the Rounded Rectangle.
Note: You can make the border of the Rounded Rectangle a different color by selecting the foreground color button, and then selecting a different color than that used for the background color.
4. Select the Rectangle Control from the Report Controls toolbar.
5. Add a rectangle to the pass by clicking and holding the left mouse button where you want the box to start and dragging the mouse to where you want the box to end.
6. Repeat the background color step for the rectangle.
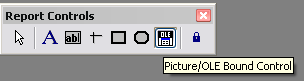
7. Select the Picture/ActiveX Bound Control from the Report Controls toolbar:
8. Add a Picture/ActiveX Bound Control to the pass by clicking and holding the left mouse button where you want the box to start and dragging the mouse to where you want the box to end.
9. Select the File radio button and type the following text into the edit box: esppimg(‘guests.mug_shot’,2) .
10. Select the Scale picture, retain shape radio button.
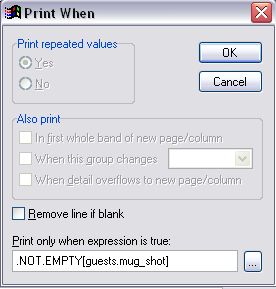
11. Select the Print When… button.
12. Specify the following condition in the Print only when expression is true: edit box:
.NOT. EMPTY(guests.mug_shot) .
13. Click OK on the Print When dialog to accept the settings and close the dialog.
14. Click OK on the Report Picture dialog to accept the settings and close the dialog.
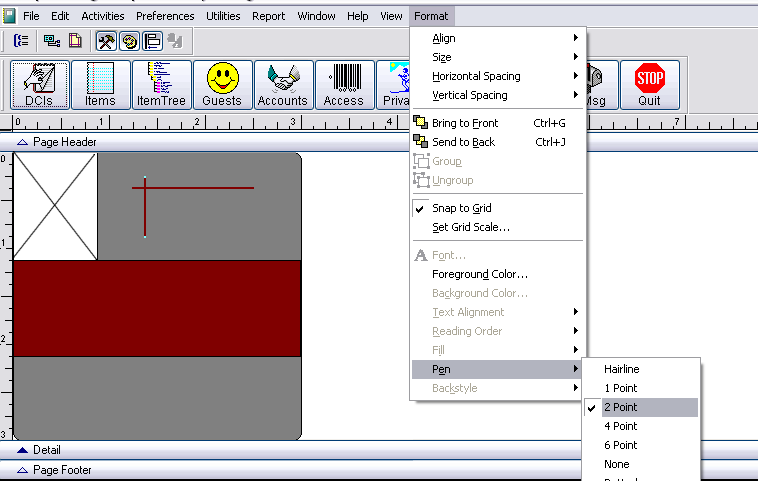
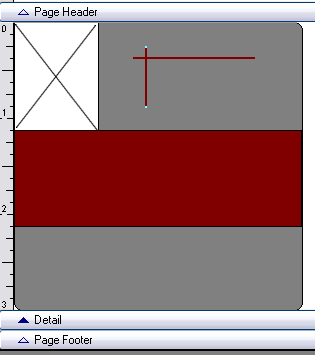
15. Select the Line control.
16. Add a horizontal line to the layout.
17. Change the line weight by selecting Format > Pen > 2 Point.
18. Change the color of the line by selecting either the Background Color or the Foreground Color button on the Color Palette toolbar and selecting a color.
19. Repeat the process for a vertical line.
20. Select the Label control.
21. Add a Label to the pass by clicking the left mouse button where you want the text to start. A cursor blinks and you can start typing text at that point.
22. Add the following text to the label:
Seminar
2013!
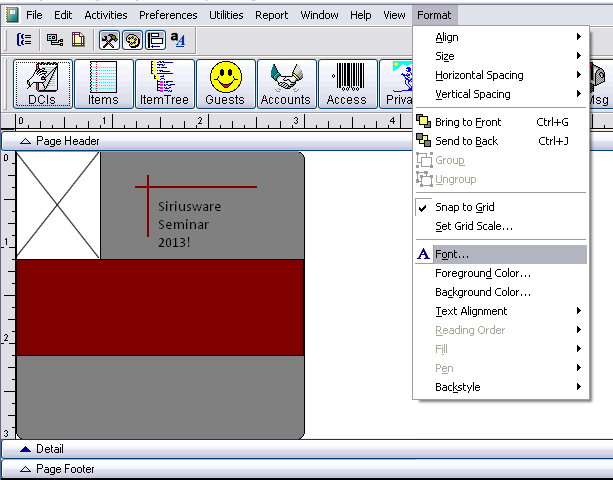
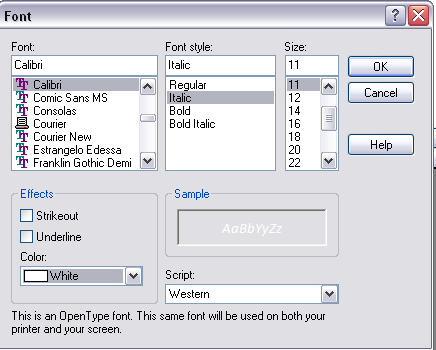
23. Set the font for the text by selecting Format > Font…
24. Change the font to Calibri/Italic/11 point:
25. Click OK to accept the font.
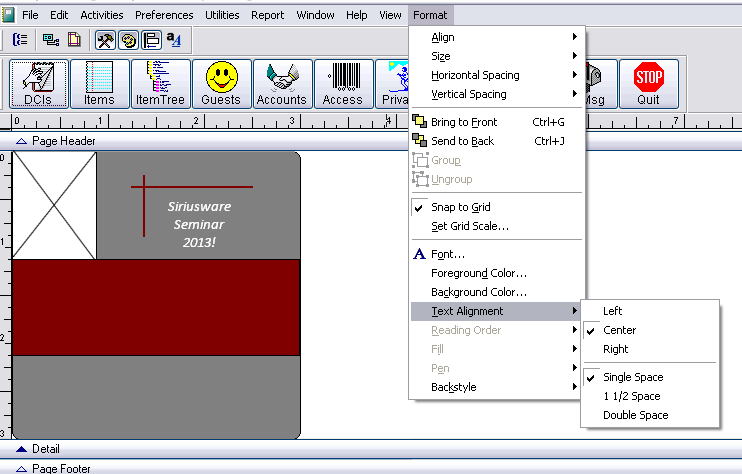
26. Center the text by selecting Format > Text Alignment > Center.
27. Repeat the process to add your site name.
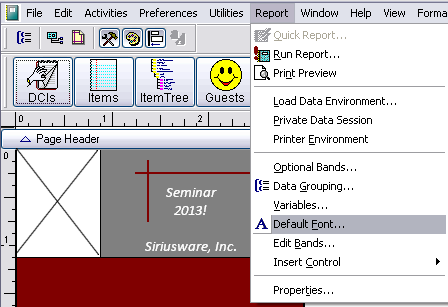
Note: You can also specify the default font by selecting Report > Default Font…
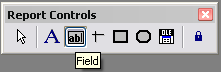
28. Select the Field control.
29. Add a field to the report.
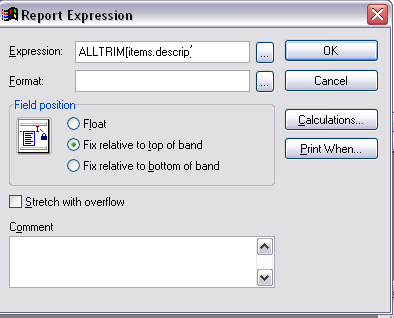
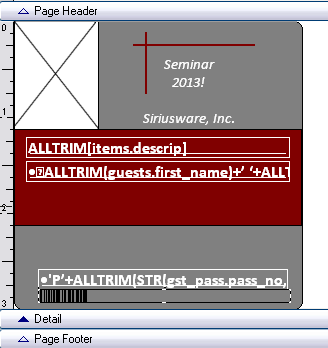
30. Set the following text on the Report Expression dialog box:
ALLTRIM(items.descrip)
31. Click OK to accept the specified expression and close the Report Expression dialog.
32. Resize the field box by holding the CTRL keyboard button down while clicking and holding the left mouse button where you want the box to start and dragging the mouse to where you want the box to end.
33. Change the background color and text font and color for the field control.
34. Center the text for the control.
35. Repeat the process three times with the following expressions:
• ALLTRIM(guests.first_name)+’ ‘+ALLTRIM(guests.last_name)
• ‘P’+ALLTRIM(STR(gst_pass.pass_no,16,0))
• BC_CODE128('PXX'+dec2baseXX(gst_pass.pass_no))
36. Change the font for the last field to BC C128 Narrow to have it print as a barcode used for Access Control.
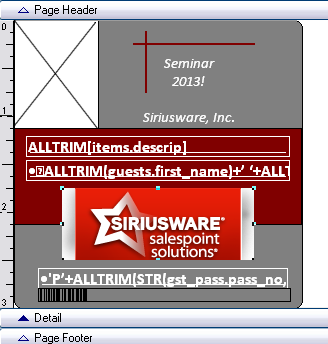
37. Select the Picture/OLE Bound Control.
38. Add a Picture/OLE Bound Control to the pass by clicking and holding the left mouse button where you want the box to start and dragging the mouse to where you want the box to end.
39. Select the File radio button and click the … button to select a graphical image.
Note: All graphic images used on Pass layouts are located in the same location as the other pass .frx and .frt layout files (typically this is in the Siriusware\Layouts folder) in order to be properly updated to the salespoints.
40. Select the Scale picture, retain shape radio button
41. Click OK to accept the Report Picture properties and close the dialog.
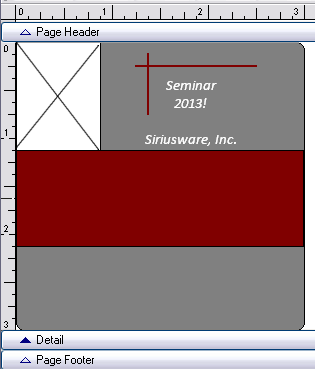
42. Your pass is complete and looks something like this:
Notes:
• To move elements on the layout, first, select them with the mouse and drag them to the new position or move them by using the keyboard arrow keys (helpful for smaller adjustments).
• Elements on the pass may be moved together by holding the Shift key on the keyboard and selecting the elements to be moved together with the mouse. Then, once all of the elements are selected they can be dragged to their new position by using the mouse or by using the keyboard arrow keys.
• Elements can be “layered” by using the Send to Back or Bring to Front buttons located on the Layout toolbar (also located within the Format menu).
• Elements on the pass may be centered vertically or horizontally by selecting the appropriate option on the Layout toolbar (or within the Format menu).
• Multiple elements can be spaced equally horizontally or vertically by selecting multiple elements together (by using the Shift key and mouse), and then selecting the appropriate Horizontal Spacing or Vertical Spacing option from the Layout toolbar (or from within the Format menu).
• The Layout toolbar includes several other helpful alignment options for dealing with multiple elements at the same time such as aligning all of the selected elements horizontally or vertically.
• The Undo button found under the Edit menu only undoes the very last action. It is not possible to undo many of the previous actions.
• Font is important for Barcodes! BC C128 Narrow Size 28 is used is the standard size that creates a readable, yet fairly small field on a layout.
• Font is important for magswipe encoding fields! These types of field are stretched across the entire width of the pass and use as small of a font as possible.