Creating a Maintenance Plan in SQL Server 2008 / 2012
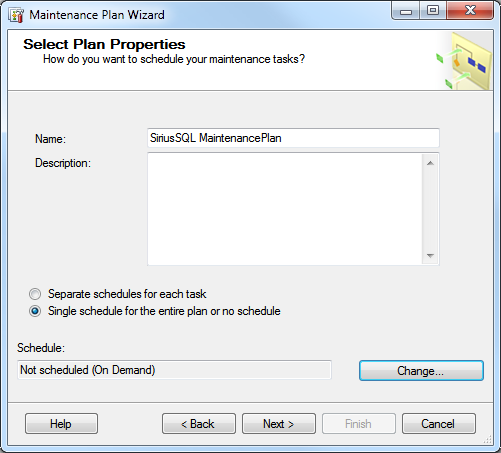
1. The Wizard opens and asks you to name the Maintenance Plan and set the schedule. Give the plan a good name like, “SiriusSQL Full Backup”.
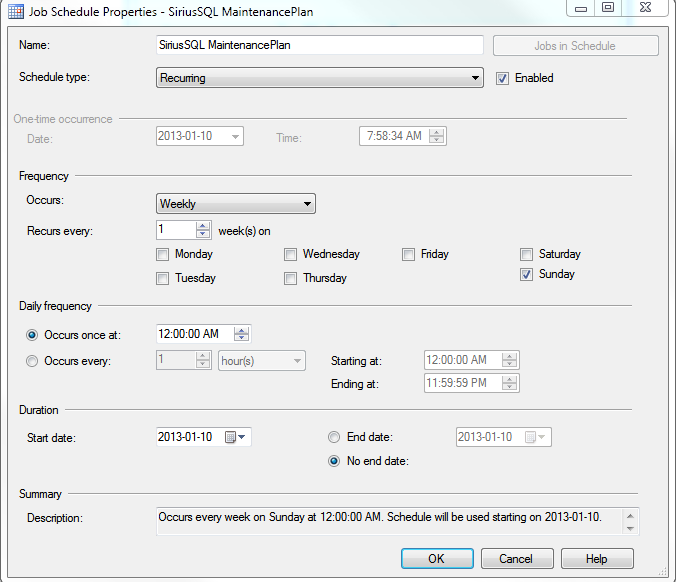
2. Click the Change Button and the Job Schedule Properties dialog box opens
3. Enter the preferred schedule. You may have several different maintenance tasks.
• Consider the type of Maintenance activities required (Back up, Checking Database Integrity, Rebuilding indexes, etc.)
Note: accesso recommends a daily backup of some type. In certain cases in which databases are very large a full daily backup may not be possible. In this case a combination of backup strategies should be employed including a Full weekly backup along with daily Transaction and/or differential backups. Another weekly task should include Check Database Integrity. Also, clients should Rebuild Index once a month.
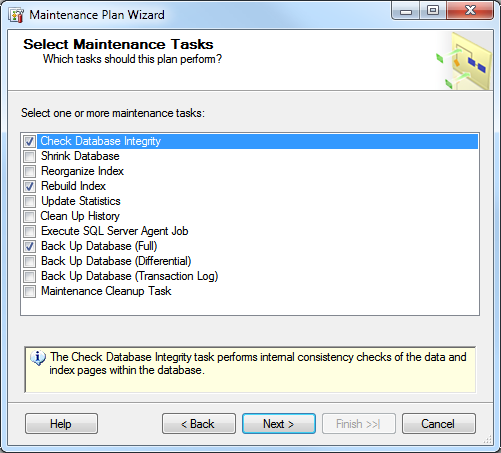
4. Choose to Check Database Integrity, Rebuild Index and Back Up Database (Full). Hit Next.
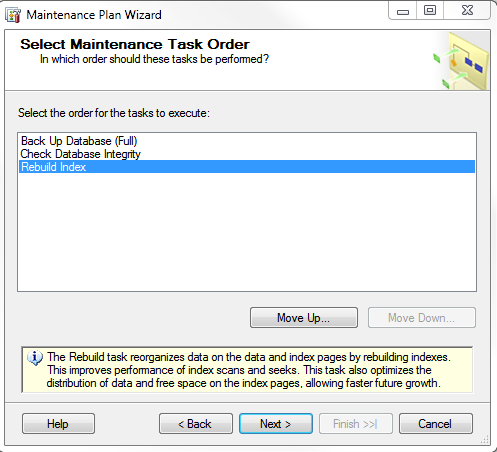
5. You can then select the order in which you would like these tasks performed by highlighting the task and using the Move Up or Move Down buttons.
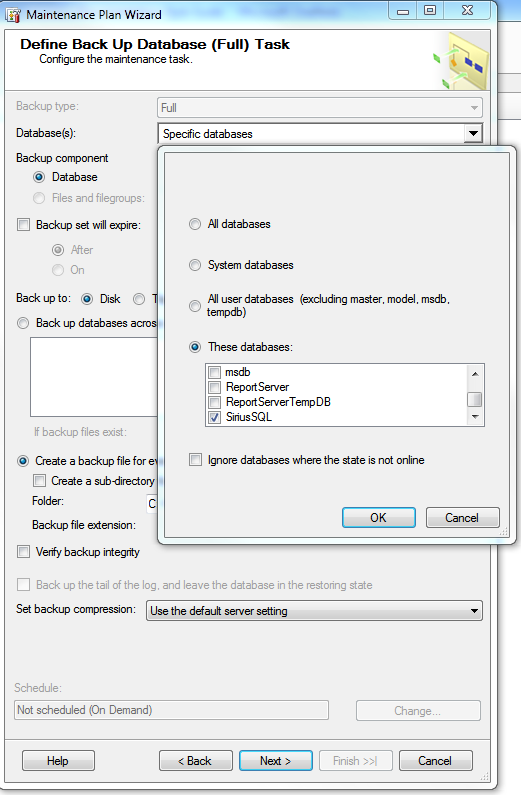
6. You are then asked to define the database to be backed up. Select the SiriusSQL check box in the Database dropdown. You can also select Disk or Tape storage, subdirectories, verification of backup integrity, etc. Choose a backup directory. Try to back up the file to a different drive system than the one your real data is on. Once this backup file is on the other drive, you can use your normal tape backup software to get it on tape (instead of buying the expensive integrated tape backup products from companies like Veritas, though that software is quite good). You might also want to choose to remove files more than two days old so your backups don’t start to fill up the disk. Filenames created in the Maintenance Plan have time stamps in them – so they don’t over-write like they would in the earlier examples.
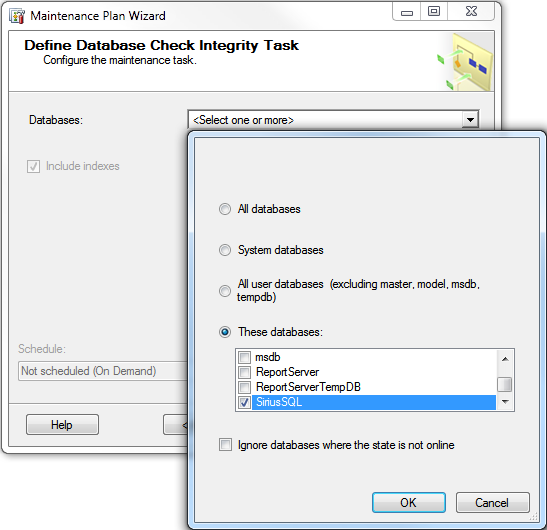
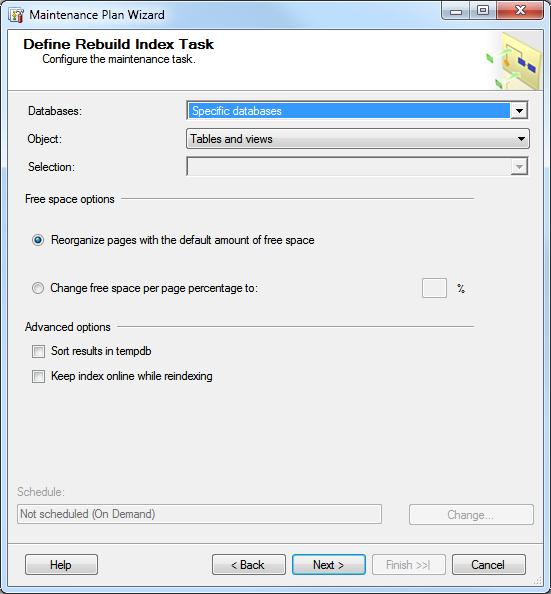
7. You are asked to then define the database for each task that you included within the Maintenance Plan.
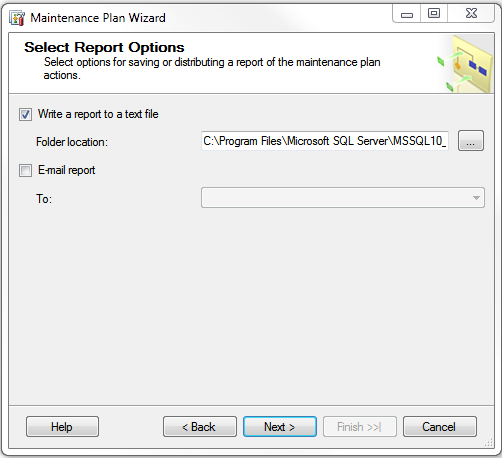
8. Chose reporting options and parameters for deleting old files. SQL Server writes a text file to the directory you choose – so you can review its successes and failures without using the event viewer.
9. Verify your choices and click Finish.