Creation of Scanman.INI
1. Go to Start and choose the Scanman shortcut to start Scanman. Scanman displays as follows:
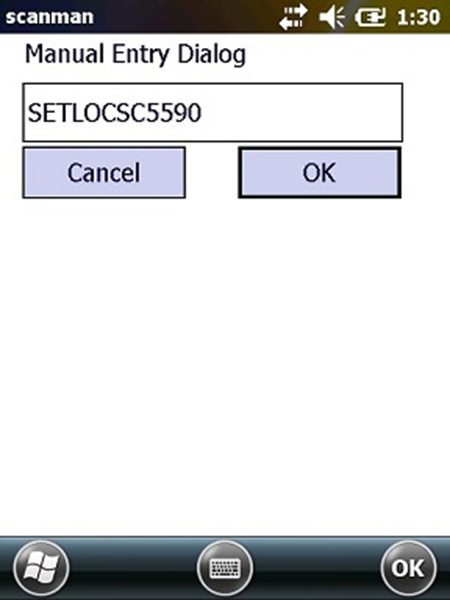
2. Choose the Manual button and enter SETLOC + Unit ID/Salespoint and select OK (in this example SC5590 is entered).
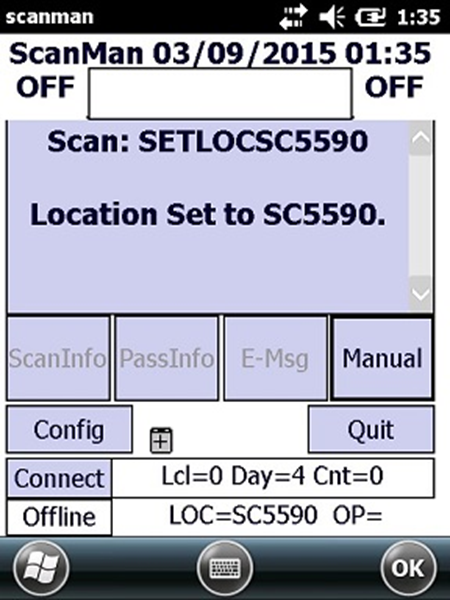
The following is displayed:
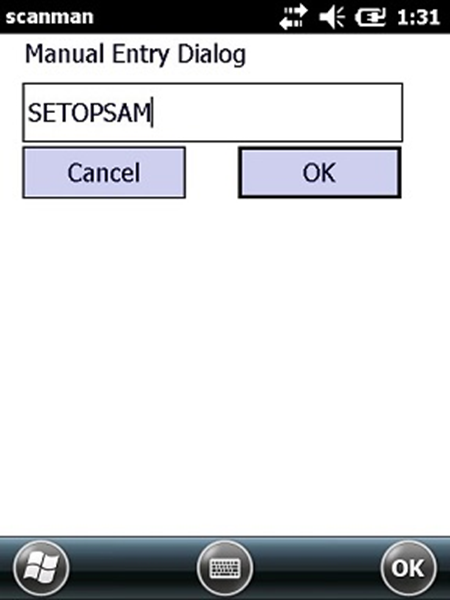
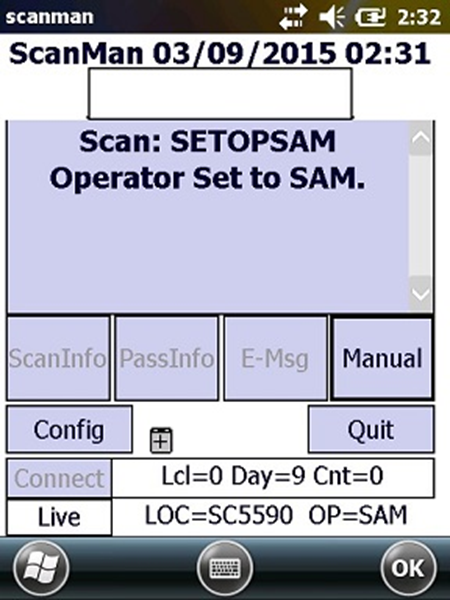
3. Go back into the Manual button and enter SETOP+OPERATOR and select OK.
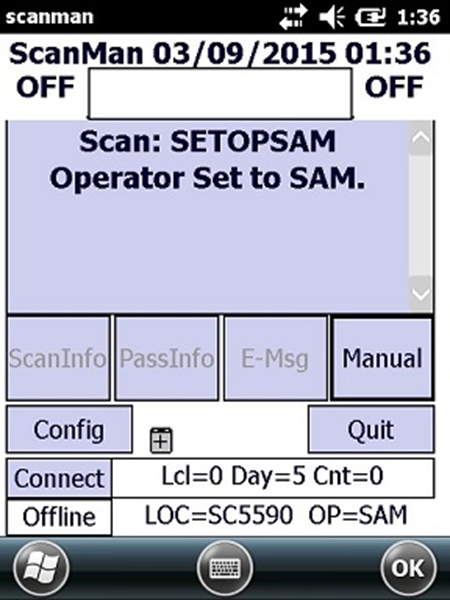
The following is displayed. Note that Offline is displayed in the lower left of the Scanman screen.
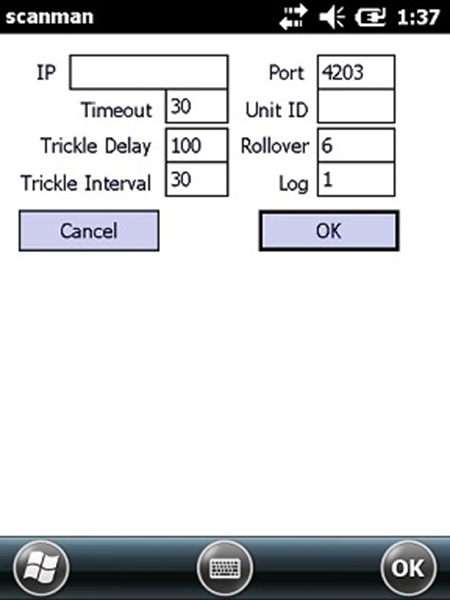
4. Choose the Config button. The following is displayed:
5. Enter the IP address of the SalesEZ machine and the Unit ID/Salespoint values and select OK. If all is correct, Live displays in the lower left of the Scanman screen.
The Scanman.INI generated by following the above steps appears in an appropriate text editor as follows:
IP=10.0.2.68
Port=4203
Unit=SC5590
Rollover=6
Timeout=30
TrickleDelay=100
TrickleInterval=30
DailyScanDay=20150309
HotList=
DailyScans=7
Count=0
PrependList=
DCI=
Exp=1
Card=' B'
NoDec=
ConfigCode=
Is34=0
Extract=
LocOp=0
RecInt=25
Cntr=1
Log=1
cpn=
cpv=
wav=0
RF=0
RFDEL=0
pic=0
palw=0
pint=0
AllowedSiteID=
DateFormat=
GIText=*LNAME*, *FNAME*
AutoOp=
AutoLoc=