Item specific settings
Upsell tags
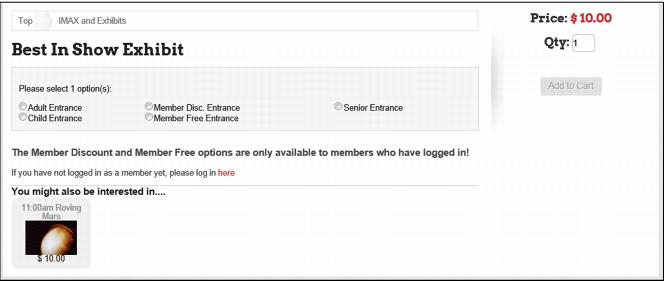
Upsell tags tie items together to upsell each other. Tags are delimited by a |.
Example:
An item might have the following upsell tags WINTER|PASSES. This would tie together any items that have a WINTER tag, and would display on each other’s item show page as a, “You might also be interested in…”
These relationships can be made by adding a # before or after the tag.
• TAG# makes it a parent. Meaning, matching tags show on this page, but this item does not show up on a matching tag
• #TAG makes it a child only. Meaning, this item shows up on a matching tags page, but matching tags do not show up on this item’s page
Items can have any number of upsell tags and can upsell across item tree nodes or department/categories.
Known Issue: The one-way relationship does not work for a “parent only”, but “child only” does work.
Item images
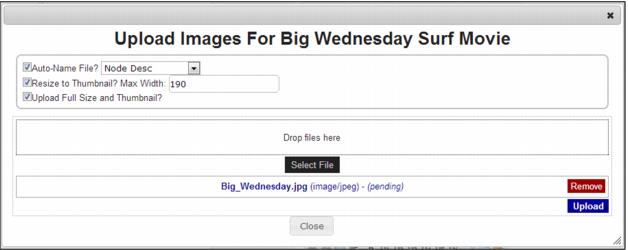
When in edit mode, the Item Images section expands to include both Upload Images and Choose Images buttons. Click on the Upload Images button to select and upload one or more images for that item. The user can set the following options for the image upload:
• Auto Name File? using either Node Desc or Node ID
• Resize to Thumbnail? Max width 190 (default width)
• Upload Full Size and Thumbnail? to upload a full sized image to the images/lg folder and a thumbnail image to the images/th folder.
Once the images have been selected and the options set, click the Upload button to complete the upload.
Click on the Choose Images button to be taken to the Choose an Image dialog where you can select from previously uploaded images. Place a check in the box for one or more images that you want to associate with the item and click the Select Checked Files button. If no thumbnail image has been defined for the item, but you have set item images, the first image is automatically used as the thumbnail. If you define a different image for the thumbnail, it uses that in the itemlist views on the ItemList.aspx page for that item.
Item Long Description
This is used in lieu of the item or item tree description when one is defined. This also requires the UseLongItemDescrip key to be set to 1. Long ItemDescriptions are stored in the MiscTables.xml file. When in edit mode, text can be entered into the wysiwyg text entry area directly. There are many tools available at the top of the text entry area to aid in formatting. You can click the HTML button if you want to enter raw html. If you want to empty the field so that the long description is not used, use the Clear link in the left column.
Item Help info
The information you see displayed here is the same as what you see on the Help text box on the General tab of the Item Edit form in SysManager. This is displayed on the ItemShow.aspx page as an expanded description of the item. This can include xml, embedded videos, etc. Change the text entry area to “HTML” to enter raw html or use the wysiwyg editor with the formatting tools at the top. When saving the item, this information is written into the SiriusSQL database into items.help_info.
Note: If the help info originally had <webinfo>…</webinfo> tags inside SysManager, the pages only display and allow modification of the text inside those tags.