Fulfillment of passes and memberships purchased/renewed with E-Commerce module
For visitors/guests who either do not have photos in their guest record or who need new photos, E-Commerce pass sale and renewal orders can be fulfilled with either Sales or SysManager.
BatchPrint utility can be used to fulfill E-Commerce pass sale and renewal orders for existing guests who have photos in their guest records. BatchPrint utility can also print a mailing label with each pass as well as tickets/vouchers associated with the pass. A few notes on BatchPrint utility:
• The name and address of the guest attached to the pass is printed on both the pass and address label, not the purchaser’s name and address. In other words, if Homer Simpson purchased a pass for Lisa Simpson, it is Lisa’s name and address that prints in BatchPrint utility.
• It is a good idea to include the guest name on the Pass layout − otherwise it can be difficult to figure out which pass goes with which mailing label.
• For information about configuring and using BatchPrint utility, see the Salesware Memberships and Passes document.
• BatchPrint utility in conjunction with the E-Commerce Shipping Address functionality can be used to fulfill pass sale and renewal orders for existing guests who have photos in their guest records.
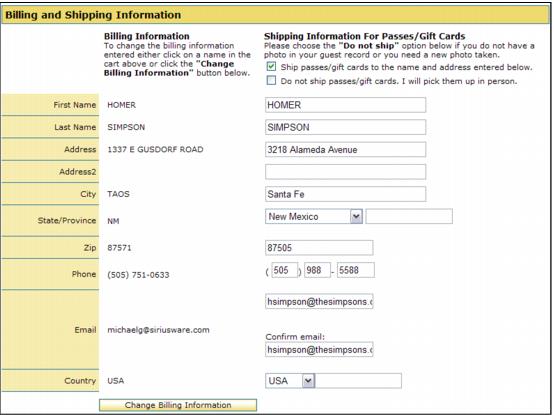
• The guest who is paying for the sale (the purchaser) can designate that the items in the sale be shipped either to himself or to another person or that the items not be shipped.
• This method requires that Reservation Headers be configured, both for the E-Commerce pages and the Sales Host.
• The purchaser must be a guest in the system and the shipping address fields must be enabled on the Checkout.aspx page.
• BatchPrint utility produces the pass or gift card and a mailing label for the name and address that is populated into the shipping address fields on the Checkout.aspx page.
1. Site config file configuration
• Site Admin Panel > Reservation Settings > UseResHeaders value = 1 − Enables Reservation Headers in the pages
• Site Admin Panel > Guest Related Settings > NoPurchTracking value = 0 − Forces purchaser to be a guest in the system
• Site Admin Panel > Guest Related Settings > ShowShippingAddr value = 1 − Enables shipping address fields on Checkout.aspx
2. Sales Host configuration
• [Preferences]
• ReservationHeaders=TRUE
3. Pass or gift card item configuration
• Create the pass or gift item as you normally would.
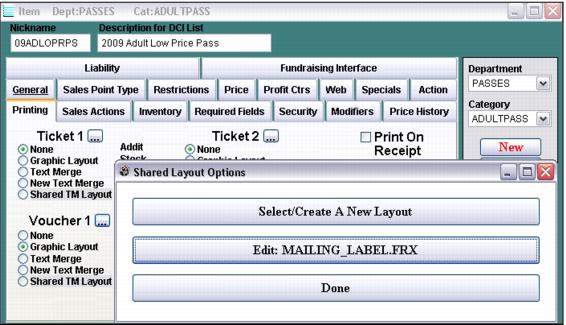
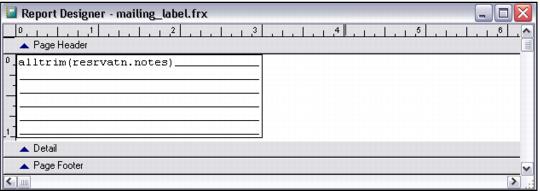
• Create a Graphic layout named MAILING_LABEL.FRX that contains a 1” x 3” field containing this expression: alltrim(resrvatn.notes)
• On the Printing tab, assign MAILING_LABEL.FRX to Ticket 1, Ticket 2, Voucher 1 or Voucher 2 − the example shown below uses Voucher1.
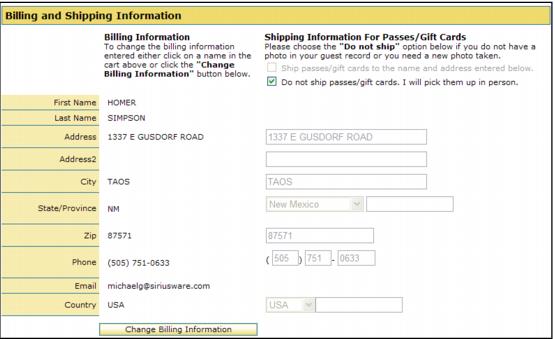
4. Modifications to the wording and layout of Checkout.aspx are required – see the following.
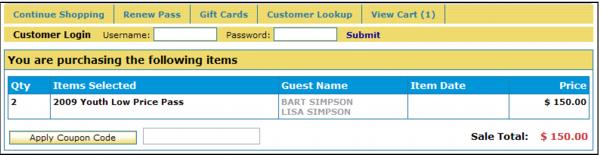
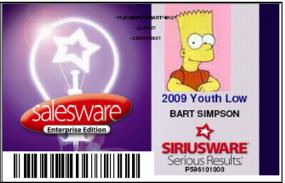
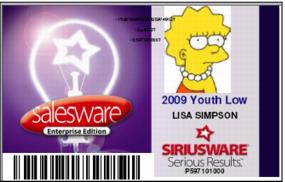
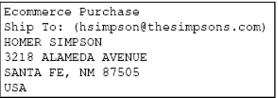
In the following example, Homer Simpson is purchasing passes for Bart and Lisa, but he wants to have them shipped to himself.
In the following example, Homer decides to pick up the passes in person.
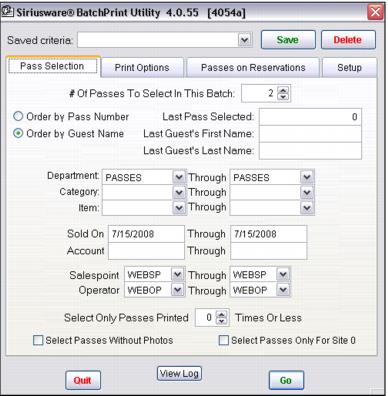
5. BatchPrint utility setup
• The Pass Selection tab in BatchPrint utility needs to be configured to work with passes or gift cards sold through the WEBSP salespoint and WEBOP operator.
• The Print Options tab needs to be configured to Print Passes (to print the pass or gift card) and Voucher 1 (to print the mailing label that is stored in the resrvatn.notes field)
Here is the result of the printing with the shipping of the passes going to Homer.