Results
The contents of the Internet Passes folder are displayed when an online visitor/guest goes to the E-Commerce module portion of your web site and clicks through the Passes link in the E-Commerce item tree.
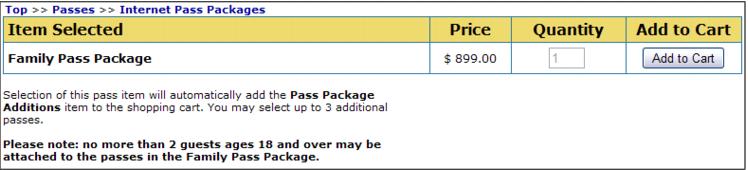
When the online visitor/guest selects the Family Pass Package item, note that the Enter Quantity box is grayed out with the number 1 filled in – only one of these passes can be sold at a time. Also note the text displayed that was entered into the Help section during item setup.
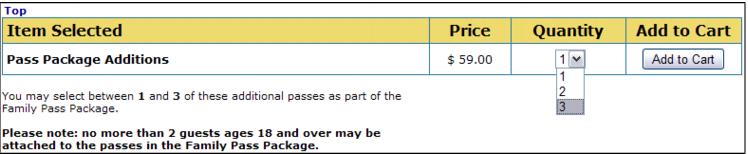
When the item is added to the cart, the online visitor/guest is prompted to add a guest to the item. Immediately after adding a guest to this item the following screen appears – this is the auto-selling of the additional pass item. Note the dropdown box in the Enter Quantity box – this is used to select 1, 2 or 3 of these additional pass items. Also note the text displayed that was entered into the Help section during item setup.
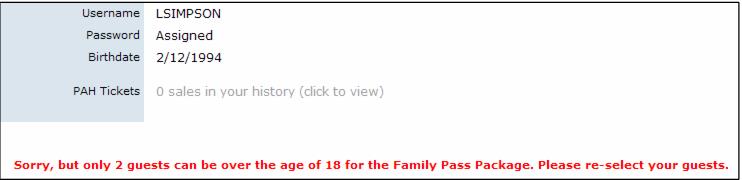
When the online visitor/guest adds the appropriate number of additional pass items to the cart, she is prompted to attach guests to each of these passes. If after adding the final guest the ages are outside the range of the Web Rule, the Text to display if Web Rule is violated message appears.
The online visitor/guest needs to re-attach guests who meet the specified age criteria to the additional pass items in order to complete the sale.
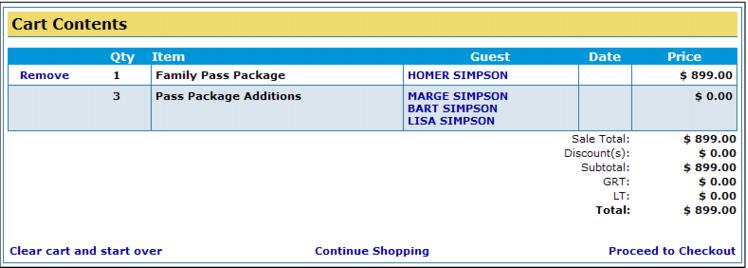
Once the ages of the guests attached to the passes in the package are within the defined range, the cart displays showing the Family Pass Package along with the additional pass items (Pass Package Additions).
Notice that this example of the pass package is priced with the total price built into the main pass item. You could just as easily price the package by assigning individual prices to both the main pass item and the additional pass item.
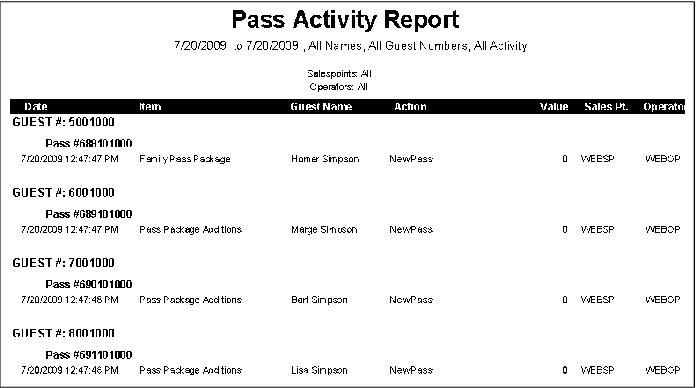
Once the Sales Host has processed the online sale, a Pass Activity Report can be run to see the guest names and new pass numbers associated with each of the items in the pass package.