Sales
1. Add an IHC product to Sales Invoice.
2. In Set Guest add a guest if a guest is not automatically assigned.
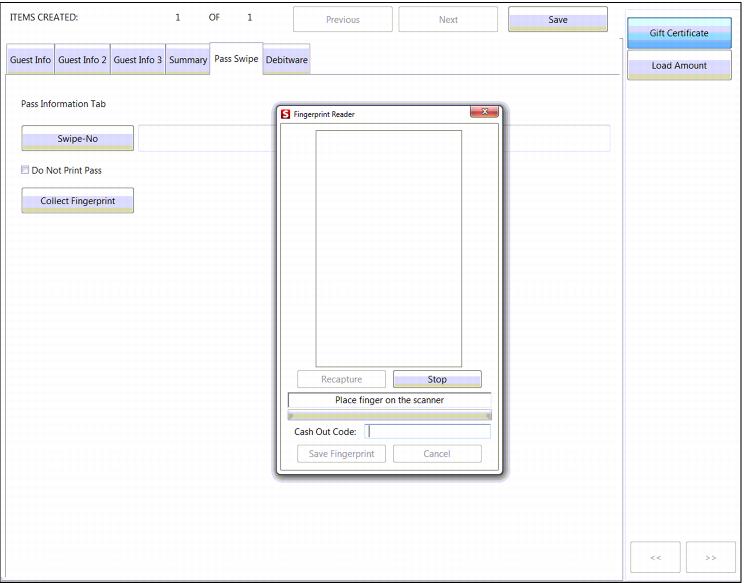
3. Proceed to the Pass Swipe tab and choose Collect Fingerprint.
4. The following dialog appears
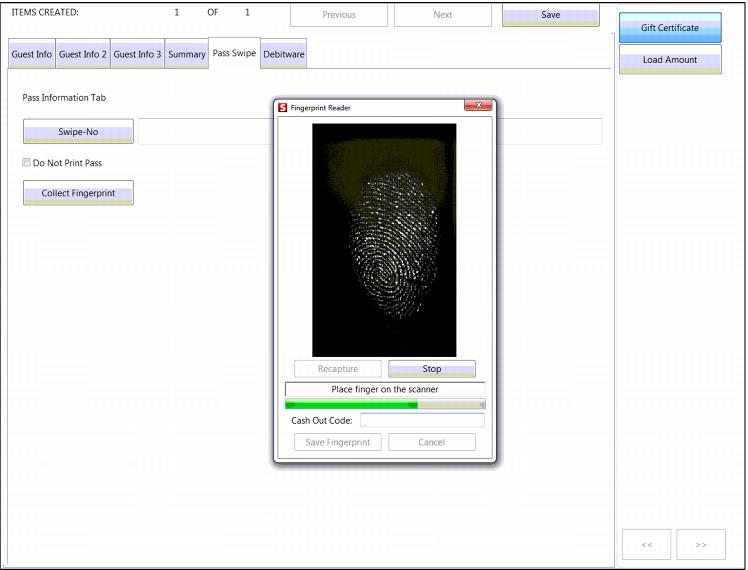
5. Operator is given the message, “Place finger on scanner.”
6. The guest chooses a finger (initial fingerprint print can be any finger). Same finger multiple reads to get the template.
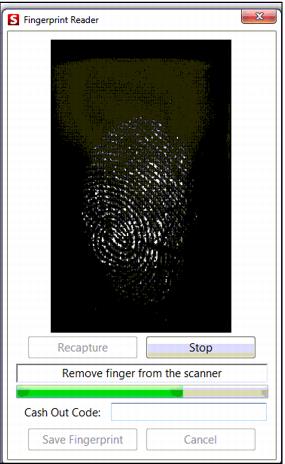
By default, four fingerprint images are taken by placing the digit on the scanner. Remove finger from scanner for as many times as are determined by FingerprintEnrollCount .INI setting.
7. Stop button: Occasionally the fingerprint scanner does not image the digit and appears frozen. Hitting the Stop button, and then the Recapture button allows a digit to be scanned under most circumstances.
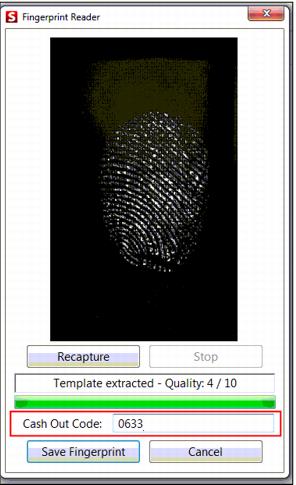
8. Recapture button: If you do not get good template after capture repetition is complete, you can recapture the fingerprint.
9. Once scanning is complete, enter a Cash Out Code and hit Save Fingerprint. The Cash Out Code field is used to confirm the IHC user when all IHC items are assigned to a default guest. The Cash Out Code is alphanumeric (up to twenty-five characters) to cash-out without fingerprint.
10. Guests are also given a printed receipt which features a barcode that can be scanned in the event that a fingerprint does not work correctly. In addition to using a fingerprint to access the balance, the customer can present the barcode. In order to generate this barcode, a Pass layout (allows reprints of the barcode) or Ticket layout (one time print – no reprinting) can be configured for the In-House Cards (Debitware) item and printed upon finalization of the sale.
11. Choose Finalize
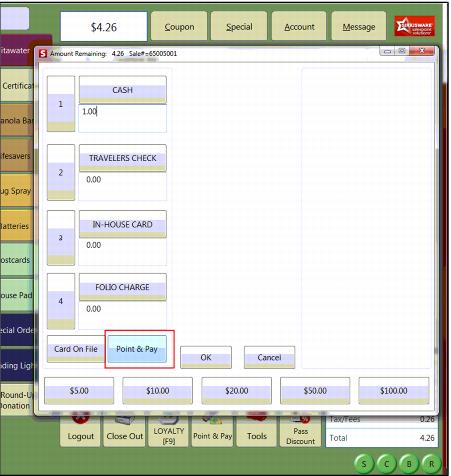
12. Select Point & Pay as the form of payment
13. Scan fingerprint
14. Choose Lookup Fingerprint and proceed through finalization