
User interface element | Description |
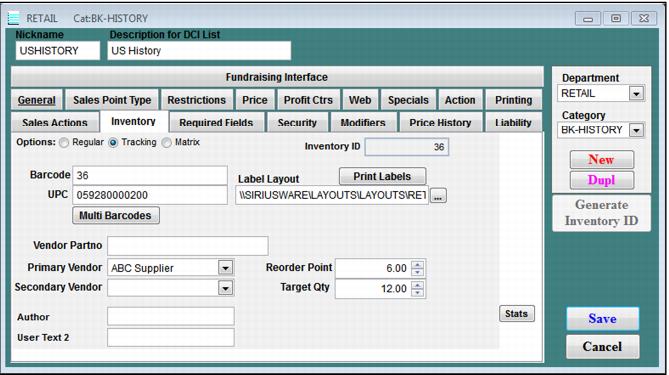
Inventory ID | The software assigns a unique Inventory ID number for each item for each retail item created. This number can be barcoded and scanned at the salespoint or used as an Inventory Lookup input. |
Barcode | The software auto-assigns the Inventory ID number as the Barcode number. This can be replaced with any letter/number combination that can be printed as a barcode and scanned. You can use multiple barcodes. Example: You may have a variety of twelve-ounce sodas available for sale, each with its own pre-printed barcode. Each is priced at $1.25 and you really don’t care about tracking cherry, lime, mango, etc., flavors because your distributor’s rep does that when your cooler is re-stocked. All you need to do is sell and track twelve-ounce soda by scanning multiple barcodes. In this case, you would enter all the barcodes that could be scanned to sell the twelve ounce soda item. |
UPC | A manufacturer’s UPC can be typed or scanned into the UPC field. Pre-barcoded items can be scanned at the Retail salespoint. The UPC field can also be used as an additional “user defined” barcode and printed on labels. |
Multi Barcodes | This provides for the entry of multiple barcodes to sell a single item, as shown in the screen capture. 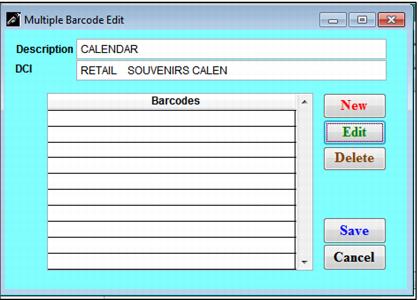 |
Label Layout | Click the |
Vendor Partno | Record a vendor part here if available. |
Primary Vendor | Select the primary vendor for this item from the dropdown. |
Secondary Vendor | Select a secondary vendor for this item if such exists. |
Reorder Point | Enter a reorder point quantity for this item. This is the quantity on hand when you wish to generate a PO. At its simplest, a Reorder Point is the sum of your Target Qty and the sales that occur between order and receipt of new merchandise. |
Target Qty | Enter the amount of inventory that you always wish to have on hand for this item. |
Stats | Clicking the Stats button shows a snapshot of the item statistics: 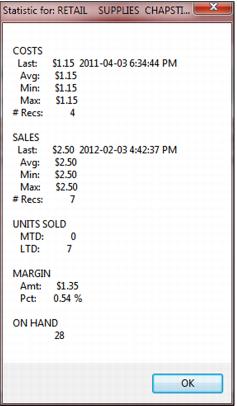 |
Generate Inventory ID | The Generate Inventory ID button is available for new or duplicated items in SysManager. When pressed, this button will generate a unique number (the next Inventory ID) and insert the number into the item's Nickname field. 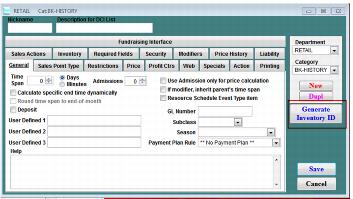 Note: This will overwrite the item's duplicated nickname or manually entered nickname. Once this button has been pressed or the item is saved, the button is disabled. Additionally, if the item is configured as a Tracking item on the Inventory tab, the same number will be shown as the read-only Inventory ID and be populated into the Barcode field where it can be edited, if necessary. This feature was added to facilitate the creation of unique nicknames primarily for Retail items, although it can be used for any type of item. |