Creating inventory matrix items
Beginning with version 4.1, inventory matrix items require a RET license for Advanced Inventory Management on each Retail salespoint. The creation of inventory matrix items follows all the procedures for any regular item that is set up for sale in Salesware module, with two differences. First, matrix items require the information that is entered on the Item > Inventory tab. Second, they do not need to be put on the item tree in order for them to be available for sale at a Retail salespoint, because scanning of retail item barcode tags or manufacturer’s UPCs bypasses the need for the item tree. However, there may be a rare circumstance in which you want to consider having a button on the Retail Sales screen for a matrix item and normal item tree procedures apply. You also need the following in the Sales32c.INI [Preferences] section: DisplayMatrixItems=TRUE.
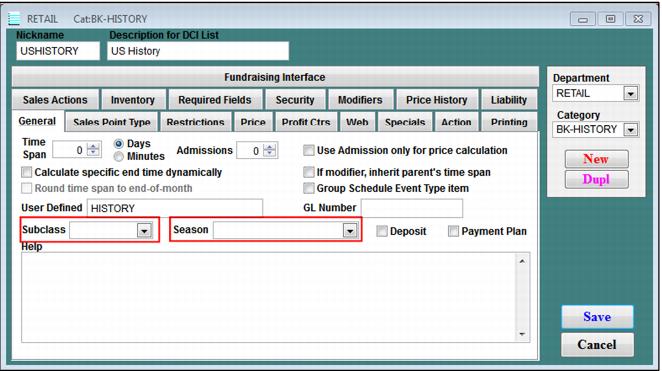
If subclass and/or season groupings are to be used, the assignment to the item is made on the General tab. See the following screen capture of the General tab:
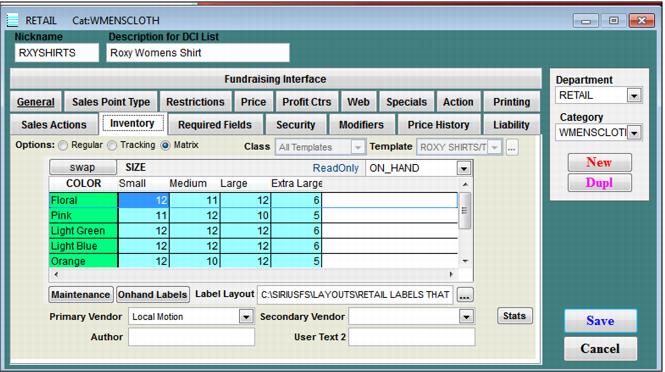
After other standard item setup is complete, click the Inventory tab. See the following screen capture of the Inventory tab:
Because this is a matrix item, check the Matrix box. The following screen capture shows the Inventory tab with the Matrix check box checked.
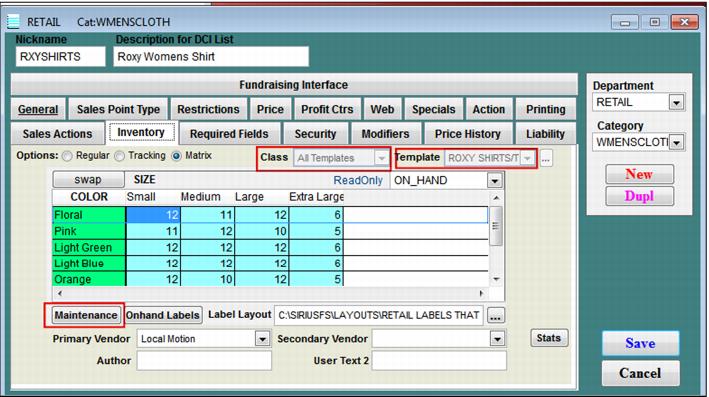
Select the Class (if used) and ensure that the correct template is selected. This displays the matrix grid. Now click Maintenance. See the following screen capture.
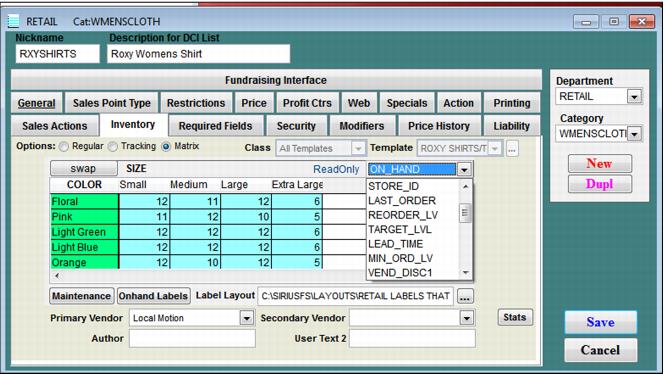
Clicking Maintenance activates the entry type dropdown list. See the following screen capture. Barcode or UPC is usually the first choice you make.
Once an entry type is selected, the cells in the matrix grid are activated to accept the input of appropriate information. Barcodes and UPC’s can be scanned into the cells.
The other interface elements on this dialog are described in the following table:
User interface element | Description |
Onhand Labels | Once there are inventory quantities on hand, labels for all size/color combinations on hand may be printed. |
Label Layout | Click the  to navigate to Siriusware\Layouts and select the label that is printed for this item. A variety of layouts are available to print barcodes for Inventory ID, Barcode and UPC. |
Primary Vendor | Select the Primary Vendor from the dropdown list. |
Secondary Vendor | Select the Secondary Vendor from the dropdown list, when applicable. |
Swap | Click the Swap button to temporarily swap the positions of attributes. |
Stats | Click the Stats button to get a snapshot of the item statistics. |
Click the Maintenance button, and then double click on any matrix grid cell to open the Inventory Maintenance Edit dialog for that individual size/color. Information entry or edit can be performed on the specifics of this item. Printing labels for just this item is also done from here.
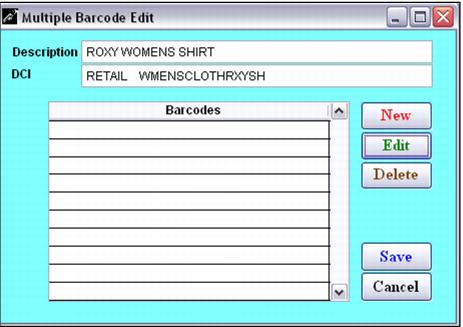
Click the Multi Barcodes button to open the Multiple Barcode Edit dialog to enter multiple barcodes that represent this item. This would be especially useful when an item changes slightly from the same or different vendor and the changed item replaces the current one. The multiple barcodes select the item for sale at the salespoint from either old or new stock.
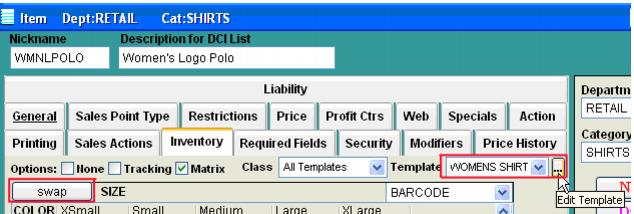
Click the

to the right of the template name to open and edit that template. Click the
Swap button to temporarily swap the positions of the color and size attributes. See the following screen capture.
Click the Stats button to get a snapshot of the item statistics. See the following screen capture.