How to edit images on main action buttons
You can customize the look of your salespoint interface by inserting unique images onto main action buttons. In this way you can further simplify how the salespoint looks for your staff.
To change the image that appears on main action buttons on the salespoint interface:
1. Download the free application paint.net http://www.getpaint.net/download.html
2. Determine the image you would like to use, http://www.google.com/imghp
Example:
1. Select an image for a dollar sign
2. Save the image, go to its folder location and open the image with a graphic editor (Photoshop, paint.net, etc.).
3. If your image has an embedded color block, you can eliminate it by using a magic wand tool
4. You can delete the selected area, providing just the image you desire.
5. Select the image and resize.
6. Resize the image to under 10 Kbytes.
7. Save changes to your image in a Bitmap (.bmp) format.
8. Bit depth should be 24-bit.
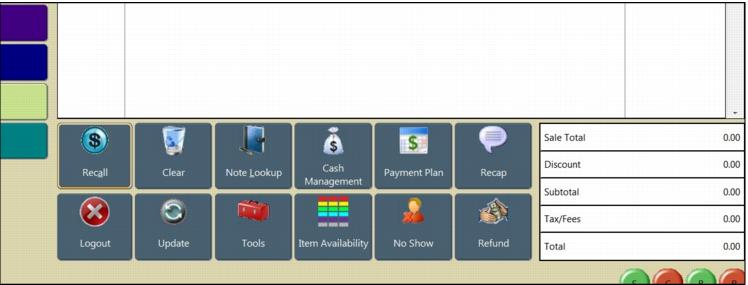
9. Determine which current main action button will display this image.
10. Navigate to Program Files (x86)/Siriusware/Sales/Images folder.
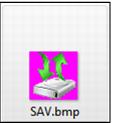
11. Rename new image with the default image name (SAV.bmp).
12. Replace the default image with the new image in the Program Files (x86)/Siriusware/Sales/Images folder.
Note: These files are located on the local salespoint, most likely you will need to edit the images on each computer.
13. Restart Sales.
14. The button will now display the new image.