E-Commerce Reserved Seating item tree
To create a link to the Show Calendar for E-Commerce module:
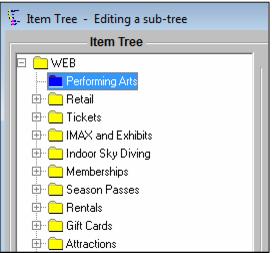
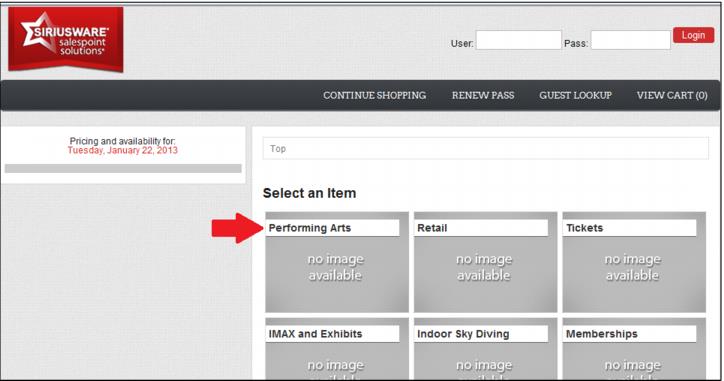
1. Create a new folder (group) in the Item Tree used by E-Commerce module and enter a Description. This description is displayed to E-Commerce customers, e.g., Performing Arts. The Reserved Seating items should NOT be added to this Item Tree folder.
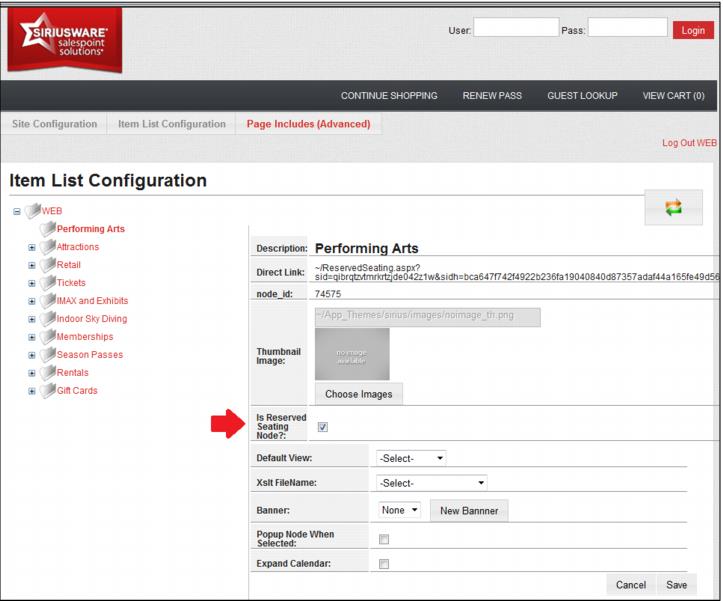
2. Next, within the Web Admin panel > Item List Configuration, edit the Item Tree folder configured for Reserved Seating module and check the Is Reserved Seating Node? check box. Other configurations, such as thumbnails and banners may also be assigned to this item tree node. Please refer to the 4.3 E-Commerce documentation for a thorough description of the Item List configuration options available in E-Commerce module.
Note: The Reserved Seating default.aspx page can no longer be brought up on its own in a browser. The page needs to be called from either Sales or the E-Commerce pages in order to be displayed.