Seat Maps
The final step in creating a Venue template is to link a Seat Map image file (.JPGS, .PNGS, GIFS) to the template. This image file is presented to the end-user during the seat booking process.
To add a Seat Map:
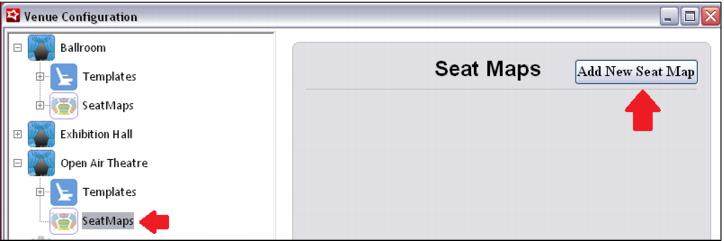
1. Click on the SeatMaps option to the left, and then press the Add New Seat Map button.
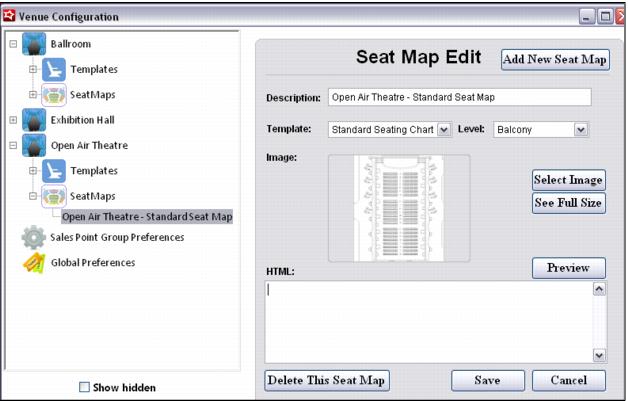
2. Enter a Description for the Seat Map and select the Venue Template associated with the Seat Map. The Level must also be selected, but is irrelevant as far as functionality for the end-user.
3. Next, click on Select Image, browse to the image file and Save.
• Seat Map files are stored in the \Images\SeatingCharts folder in the Reserved Seating and Ecommerce IIS directories using the SeatMapID as the filename.
Note: Currently the HTML field is not in use. It has been added as a placeholder for future development, but is not operational at this time.