Installing SysManager
The SysManager application can be installed on any computer on the network that has network access to the SQL Server. If SysManager is being installed on a computer that has already had the Common Files installer run on it (such as the SQL Server or Pool Service computer) you can skip the step of installing Common Files application. You need administrator privileges on the computer where SysManager is installed. If you have write privileges to the Siriusware\Install directory, the installer updates the value of the SiriuswareSQLServer setting in the SiteDefaults.INI file.
The SysManager installer:
• Creates the Program Files\Siriusware\SysManager and Program Files\Siriusware\SysManager directory and associated files.
• Installs a desktop shortcut to SysManager; a training shortcut to SysManager can be installed as well.
• Installs the ODBC that enables SysManager.exe to “talk” with the SiriusSQL database.
• Creates and assigns a value to the LOCATION system environment variable. The value of the LOCATION environment variable must be unique for each computer where it is installed.
Note: On Windows Server 2008 (32- and 64-bit), you need to turn on DEP, and then exclude SysManager after it is installed. See
Installing with an “execution protection” capable processor for how this is done.
To run the SysManager installer:
1. Ensure that Common Files application is already installed.
2. If you are installing SysManager on the server computer where Server Files application is already installed, you can run the Install_Siriusware_SysManagerManager_43xx.msi installer directly from the \Siriusware\Install directory. If you are accessing the \Siriusware\Install directory over the network, you can either run the installer over the network or copy the installer to the desktop and run it from there. Siriusware Inc. recommends that you run the installer over the network. If you later modify the installation, Windows looks for the installer in the location from which it was originally run. It might inadvertently get deleted from the desktop.
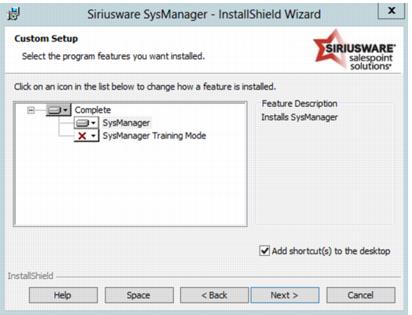
3. You are presented with the following dialog. Click Next.
4. You are presented with the following dialog. You can add the training mode SysManager, but you are required to install a training database before you can use it (see
Installing a training database). You can select either
This feature will be installed on local hard drive or
This feature, and all subfeatures, will be installed on local hard drive. The two options are equivalent. Click
Next.
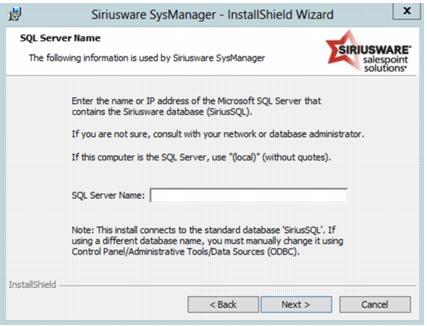
5. After entering the location name for the computer, you are then prompted to enter either the IP address or the name of the SQL server that contains the Siriusware database (SiriusSQL).
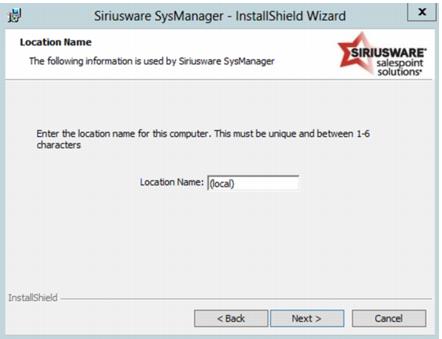
6. You are presented with the following dialog. Enter the location name for this computer. This dialog causes the LOCATION system environment variable to be created and this value assigned to it. The value of the LOCATION environment variable must be unique for each computer where it is installed. If there is already a LOCATION environment variable on this computer, the value is changed to whatever you type here. Typical values used by clients reflect the physical location of the computer, such as office. The value must be one –six characters in length.
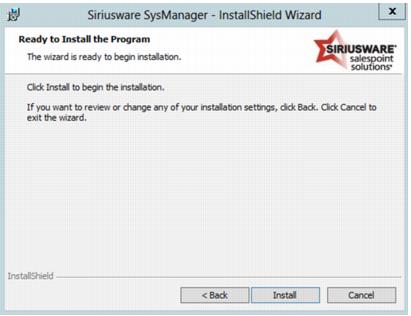
7. You are presented with the following dialog. Click Next to begin installation of SysManager.
8. When the SysManager installation completes, you are presented with the following dialog. Click Finish.
You can launch SysManager from the Start button or by using the desktop shortcut. The default log-in name is ADMIN with no password.