Salespoint setup
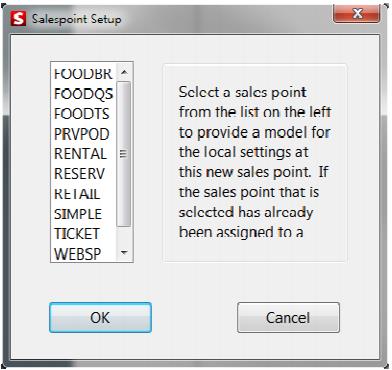
The next screen prompts you for the name of this particular salespoint. The list of choices reflects the salespoint names that were entered into SysManager earlier or a list of default salespoint names. You may see only a subset of names depending on what you selected on the Salespoint type dialog from the Sales installer. Select the appropriate salespoint name from the list and click OK.
The next screen can prompt you in one of two ways. If the salespoint name has never been used, it asks you to enter a new salespoint name and description. If you like the name as is, simply re-enter the name and supply a description. Click OK to continue.
Note: You cannot have duplicate salespoint names and no two salespoints can use the same name. You must choose a different name from the list for each computer on which Sales is installed.
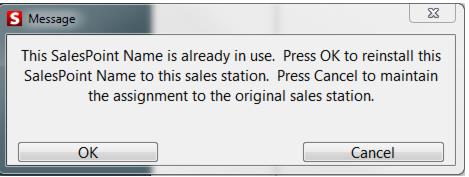
If the salespoint name has ever been assigned to any salespoint before, you see a warning that the salespoint name is already in use. This warning is designed to prevent someone from assigning the same salespoint name to more than one salespoint. It is only a warning to let you know that particular salespoint name has been used at some point in the past. If you know that the name in question is supposed to be used by this salespoint, simply click on OK to continue past the warning message and assign the name to the salespoint anyway.
If your salespoint detects any changes in the Sales32c.INI file, it prompts you with a message stating that your salespoint settings have changed and that Sales must be restarted. Simply click OK and restart Sales.
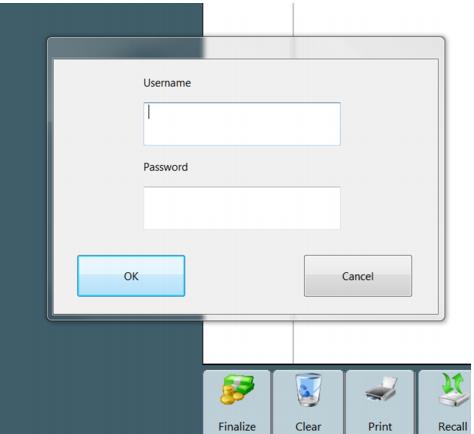
Sales is now installed and sitting at the Login dialog.
Repeat the sales install procedure for each POS station.